Introduction
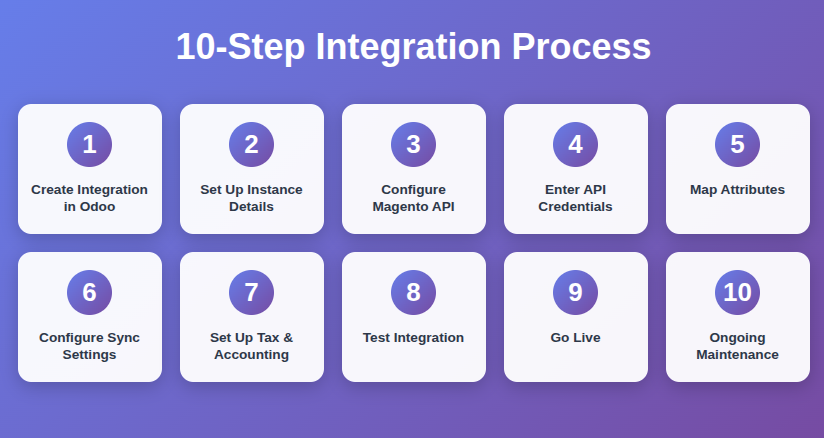
Magento is a leading eCommerce platform, but when it comes to back-office operations like accounting, CRM, inventory, and reporting, it often requires third-party tools and extra effort. On the other hand, Odoo ERP provides an all-in-one solution to manage sales, customers, inventory, finances, and more, making it an excellent complement to Magento.
By connecting the two platforms, you can synchronize your online store with business operations in real-time, saving time, reducing errors, and scaling efficiently.
Let’s take a closer look at the key features of the Odoo Magento Connector and go through a step-by-step guide to integrating Magento with Odoo.
Key features of Odoo Magento connector
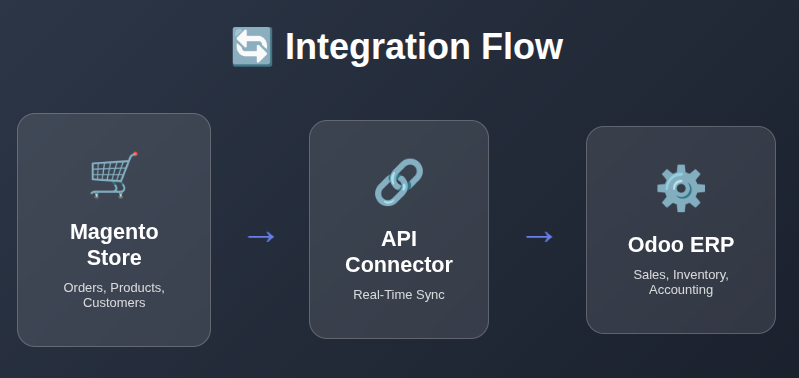
1. Real-Time Order Synchronization
There is no need to manually enter sales orders. The connector ensures that every order placed on Magento is instantly pushed to Odoo. This helps the sales team process orders faster and keeps fulfillment teams updated in real time.
2. Product & Category Synchronization
Product catalogs are critical in eCommerce. With this feature, you can sync SKUs, product attributes, variants, images, and prices. Whether you update a product in Magento or Odoo, changes can be reflected in both systems without duplication.
3. Inventory & Stock Management
Keep stock levels in check. When inventory changes in Odoo (e.g., after a sale, return, or purchase), the same is updated in Magento, and vice versa. This prevents overselling, stockouts, or customer dissatisfaction.
4. Customer Data Sync
Magento customer profiles, including names, addresses, and contact details, are automatically imported into Odoo CRM. Businesses can use this centralized customer database to run loyalty programs, campaigns, and better support services.
5. Sales Order Management
The connector auto-syncs Magento orders into Odoo’s Sales module, enabling businesses to handle invoicing, delivery, and order status updates directly from Odoo. This means one backend for managing your entire sales cycle.
6. Payment & Shipping Integration
Integrations with multiple payment gateways and shipping providers are supported. Magento transactions sync into Odoo, along with shipping details and tracking numbers, so customers and support teams always have accurate information.
7. Accounting Integration
Invoices generated from Magento sales are automatically recorded in Odoo Accounting. Payments, taxes, and reconciliations are also managed seamlessly. This reduces manual bookkeeping and improves financial accuracy.
8. Multi-Store Management
Running multiple Magento stores? The connector allows you to manage them all from one Odoo backend. This is especially useful for businesses operating across different regions or brands.
9. Reporting & Analytics
With consolidated data in Odoo, you can generate detailed reports across sales, inventory, customer trends, and financial performance. This helps management make better, data-driven decisions.
Steps to Connect Magento 2 with Odoo
Migrating Magento with Odoo may sound technical, but with the right setup, it’s straightforward. Here’s the process:
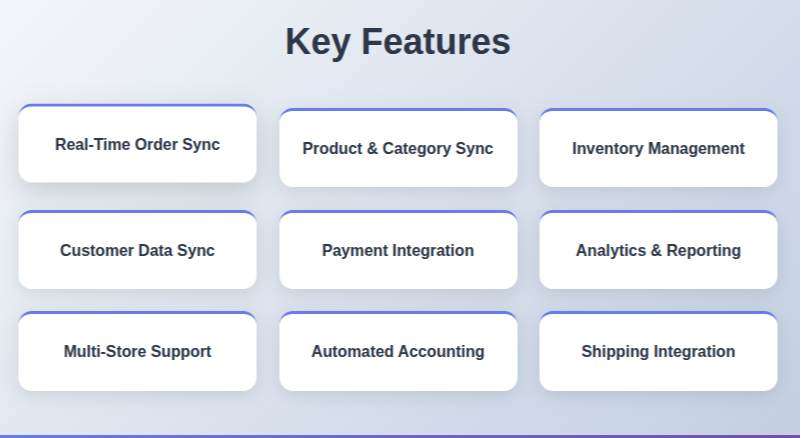
Step 1: Create a New Integration in Odoo
In Odoo, navigate to the settings and enable the Magento connector module (if not already installed). Create a new integration entry to establish the link.
Step 2: Set Up the Integration in Odoo
Define your Magento instance details, such as store name, base URL, and backend configuration. This helps Odoo identify which store it is connecting to.
Step 3: Configure Magento 2 API Settings
In Magento, create a new API user and role with the necessary permissions for orders, products, customers, and inventory. This ensures that Odoo has secure access.
Step 4: Enter API Credentials in Odoo
Copy the API keys (Access Token, Consumer Key, Consumer Secret) from Magento and paste them into Odoo’s integration settings. This step connects both platforms securely.
Step 5: Map Magento Attributes to Odoo Fields
Map product attributes, SKUs, and categories to their respective fields in Odoo. This ensures that data like product codes, prices, and stock levels align correctly between systems.
Step 6: Configure Synchronization Settings
Choose what data should sync automatically (orders, products, stock, customers, etc.) and set the frequency of synchronization (real-time or scheduled).
Step 7: Configure Tax and Accounting Settings
Map Magento taxes, payment methods, and shipping rules to Odoo’s accounting configuration. This helps generate accurate invoices and financial records.
Step 8: Test the Integration
Run a test synchronization for products and orders to confirm data flowing correctly between the systems. Check for errors and fix any mismatches.
Step 9: Go Live with the Integration
Once testing is successful, enable live synchronization and start processing actual sales data through Odoo.
Step 10: Perform Ongoing Maintenance
Regularly monitor synchronization logs, update API keys if required, and ensure both platforms are running smoothly after version upgrades.
Conclusion
Migrating Magento to Odoo with the Odoo Magento Connector streamlines eCommerce and back-office operations. It automates orders, inventory, customer data, and invoicing, reducing errors and saving time. This integration provides real-time visibility, supports multiple stores, and helps businesses run efficiently while making data-driven decisions for growth.